

Aaaaand we’re back! After taking a break, Ann and I are back with our Monthly Mystery Munchies. Sometimes life gets busy and a reshuffling is in order, but we always intended to continue with our monthly blogging challenge. This months’s theme: roast.
The Husband and I recently went away to a small town called Tulbagh. It was snowing and we spent the majority of our time visiting wine farms. Breakfast: wine tasting. Lunch: wine tasting and food. Dinner: more wine. And cheese. So much cheese. During our trip, we discovered a gem of a restaurant in the Tulbagh Hotel. The Husband was so taken with their roast pork belly that we made three trips to the hotel. I promised to attempt it when we got home, but I was nervous about the crackling. So many different recipes and instructions on the Internet, but I tried, and this happened. It worked! Crackling, it turns out, is not difficult if you use the right temperatures and dry the pork in the fridge for a few hours before cooking it. So, here it is – rolled pork belly.
Ann, it’s great to be back! I am super excited to continue our Monthly Mystery Munchies and to try your recipe. Folks, please hop over to Grubbs n Critters for delicious recipes. Thank you for the continued friendship. Also, here’s to keeping those ducks alive!
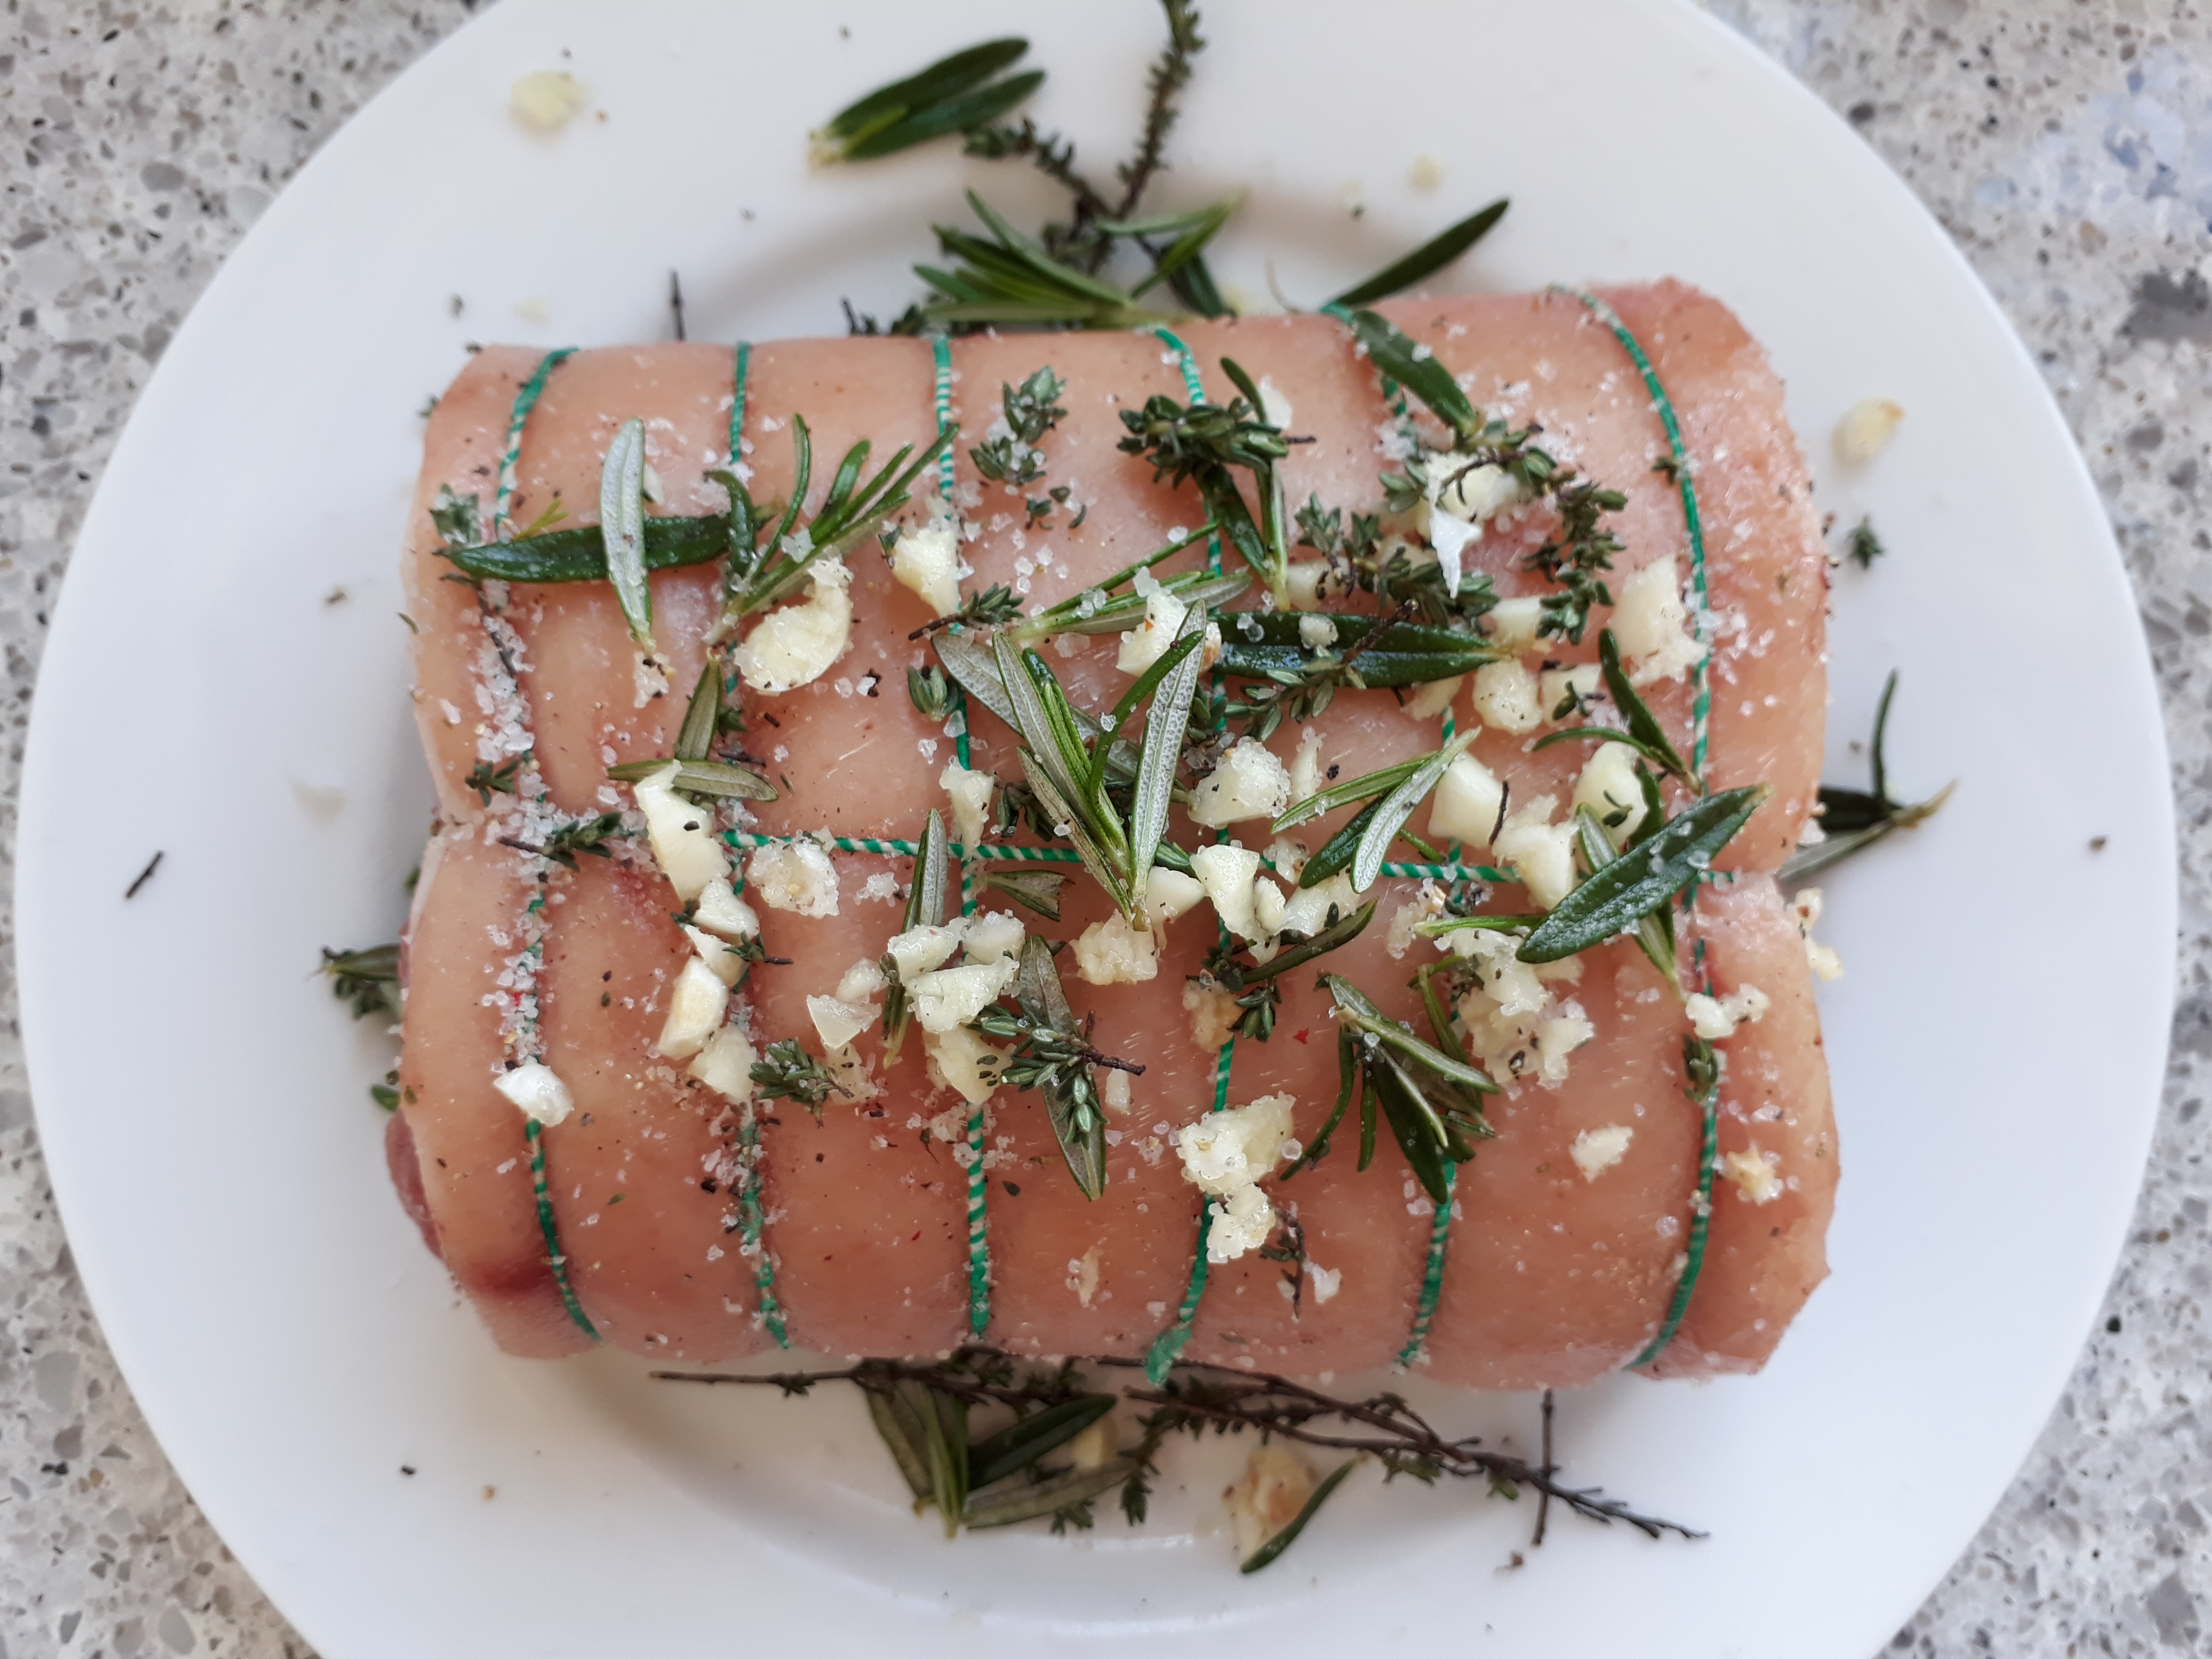
Rolled roast pork belly with crackling
Supplies:
1kg pre-rolled boneless pork belly
2 tablespoons cracked sea salt
1 tablespoon cracked black pepper
1 sprig rosemary
1 sprig thyme
3 garlic cloves, sliced
Making it Happen:
Mix all the ingredients, score the pork but be careful not to cut into the meat. Rub the ingredients all over the pork, and underneath, making sure you rub salt into the scored fat. Place two sheets of kitchen towel on a plate, position the pork on top and refrigerate, uncovered, for four hours.
Remove the pork from the fridge half an hour before roasting to let it reach room temperateure.
Preheat oven to 220°C (450°F). Place pork on a wire rack on top op a roasting tray. Fill the tray with boiling water, and roast for 40 minutes until the skin is crackling.
Turn down the oven to 180°C (350°F) and roast for another 1 hour. After 30 minutes, cover the pork with tin foil (shiny side in). Pump the oven back up to 220°C (450°F) for the last 15 minutes.
Remove pork from the oven and let it stand for 20 minutes, covered, until you slice it. Serve with mashed potatoes and gravy.
Follow me on Instagram here
Follow Ann here